What I'm Sharpening Today - Wood Chisel

Sharpening a Chisel
Rust Happens

Today I discovered that one of my wood chisels had developed a bit of rust. I'm not proud of that, I like to take care of my tools, but it happens sometimes. Rust is not good for edges so it is best take care of it right away.
Testing the Edge

Testing Sharpness

We use the Edge-On-Up to test sharpness. It measures the force required to cut a certified piece of test media. The lower the number, the sharper the edge. A butter knife is roughly 2000, a new knife is often around 300, while a razor blade can be sharpened below 100. We use this in our shop to measure our results.
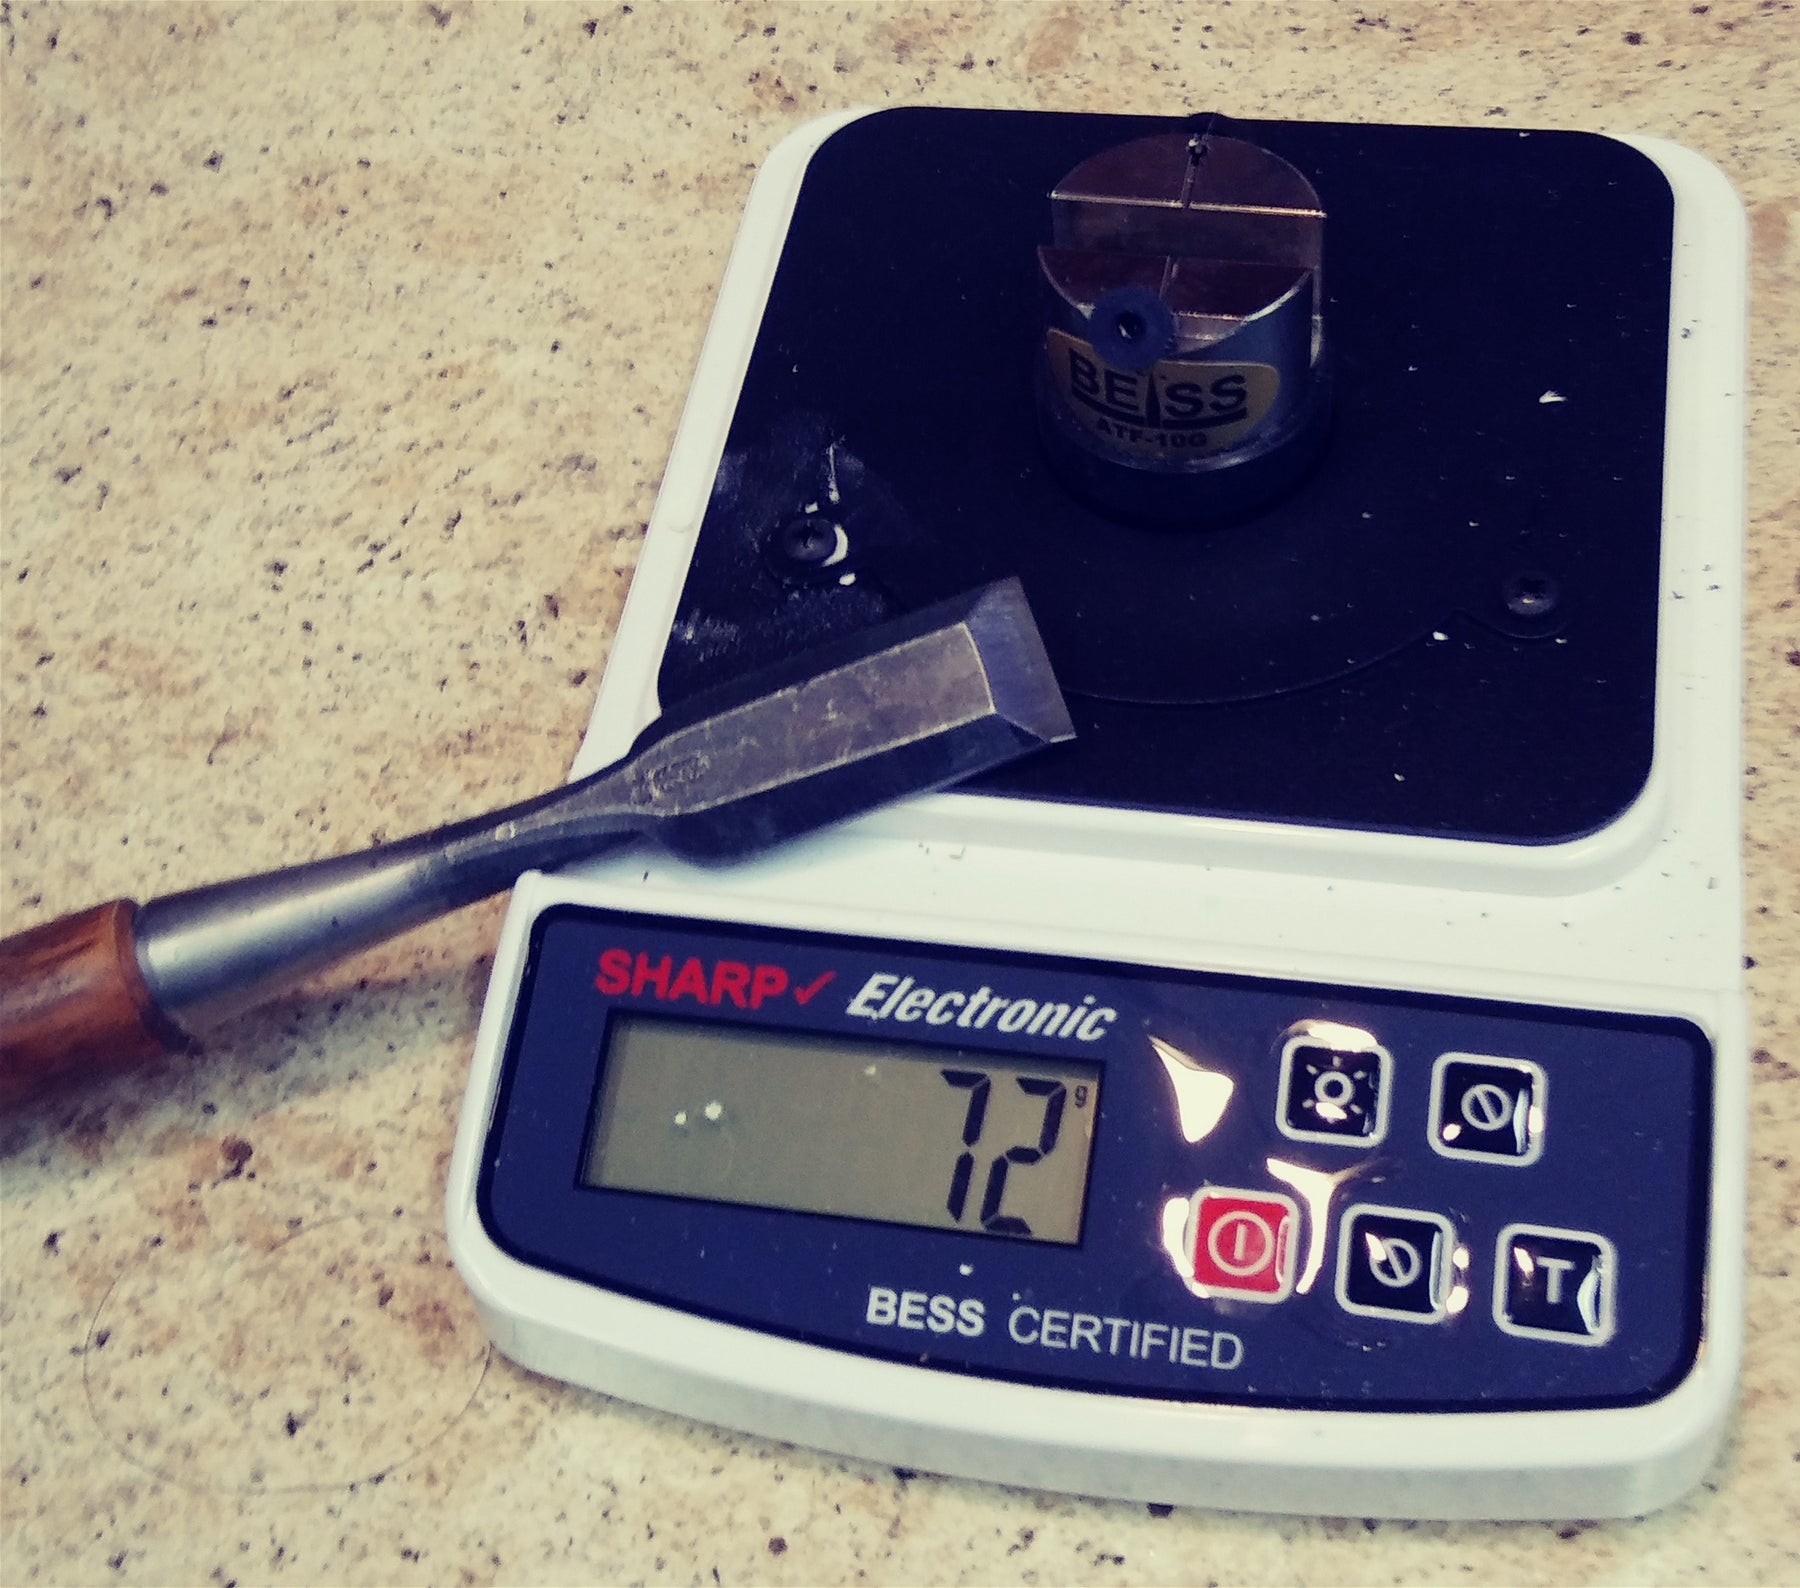
Perhaps it isn't absolutely necessary to know just how dull rust has made a chisel, but it is interesting and illustrative to see before and after results. So I went to the Edge-On-Up PT50A Tester (see sidebar) and measured the blade. I got a reading of 339. That's not extremely dull by some measures perhaps, but I like to be able to get clean crisp cuts on wood from my chisels, and for that they need to be closer to 100.
Polishing the Back

In addition to the rust on the bevel there was also some on the back. I used a Sharpening Supplies 3000/8000 Double Sided Water Stone to restore the mirror finish of the chisel back.
Full disclosure for those who caught that the chisel in the photo doesn't have any rust on the bevel, the photo is a recreation. My original shot was out of focus so I redid it. Such are the pitfalls of working by myself from home during this time of pandemic.
Sharpening on the Tormek

Chisels are something that the Tormek T-8 really excels at. I used the SE-77 Square Edge Jig, which is included with every T-8.
I could use the WM-200 Angle Master (included with the T-8) to set the sharpening angle to a specific degree, or I could simply match the existing angle using the marker method. I chose the marker method.
Using a marker, I colored in part of the bevel of the chisel, placed the chisel in the SE-77 and placed the jig on the Universal Support Bar. I adjusted the height of the bar by eye until it looked close, then turned the grinding wheel gently by hand. Checking the marker on the bevel showed me where the grinding wheel was contacting the chisel. From there a couple of minor adjustments were all that was needed to get the angle just right.
Once the angle was set, I prepped the Grinding Wheel with the coarse side of the Stone Grader and sharpened until I had formed a burr on the back of the chisel. Then I used the smooth side of the Stone Grader to change the grinding wheel to a 1000 grit and repeated the process.
I finished on the Leather Honing Wheel. This can be done free hand, but I took a few moments to flip the Universal Support Bar around and kept the chisel in the jig. For the back of the chisel though, I did work free hand on the Leather Wheel to remove the burr from sharpening.
Results

I retested the chisel on the Edge-On-Up Tester and got a 72. That's solidly in shaving razor blade territory and more than sharp enough to slice any wood cleanly without crushing or tearing the fibers.
Camellia Oil Prevents Future Rust
While it did not take me long to clean the rust and sharpen the chisel, I don't want to have to do it again. So I applied a light coat of Camellia Oil to keep the rust at bay.
No matter how well we take care of our tools, things happen. They get rusty, they get dull. The good news is that with the right sharpening equipment it is a quick matter to put them right again.

