
1-800-351-8234
We just launched the Work Sharp Professional Precision Adjust, a completely new guided sharpener that builds on their many years of experience in the sharpening market. I had an opportunity to test and review a pre-production sample for a few weeks and I wanted to share my experience with this new sharpener.

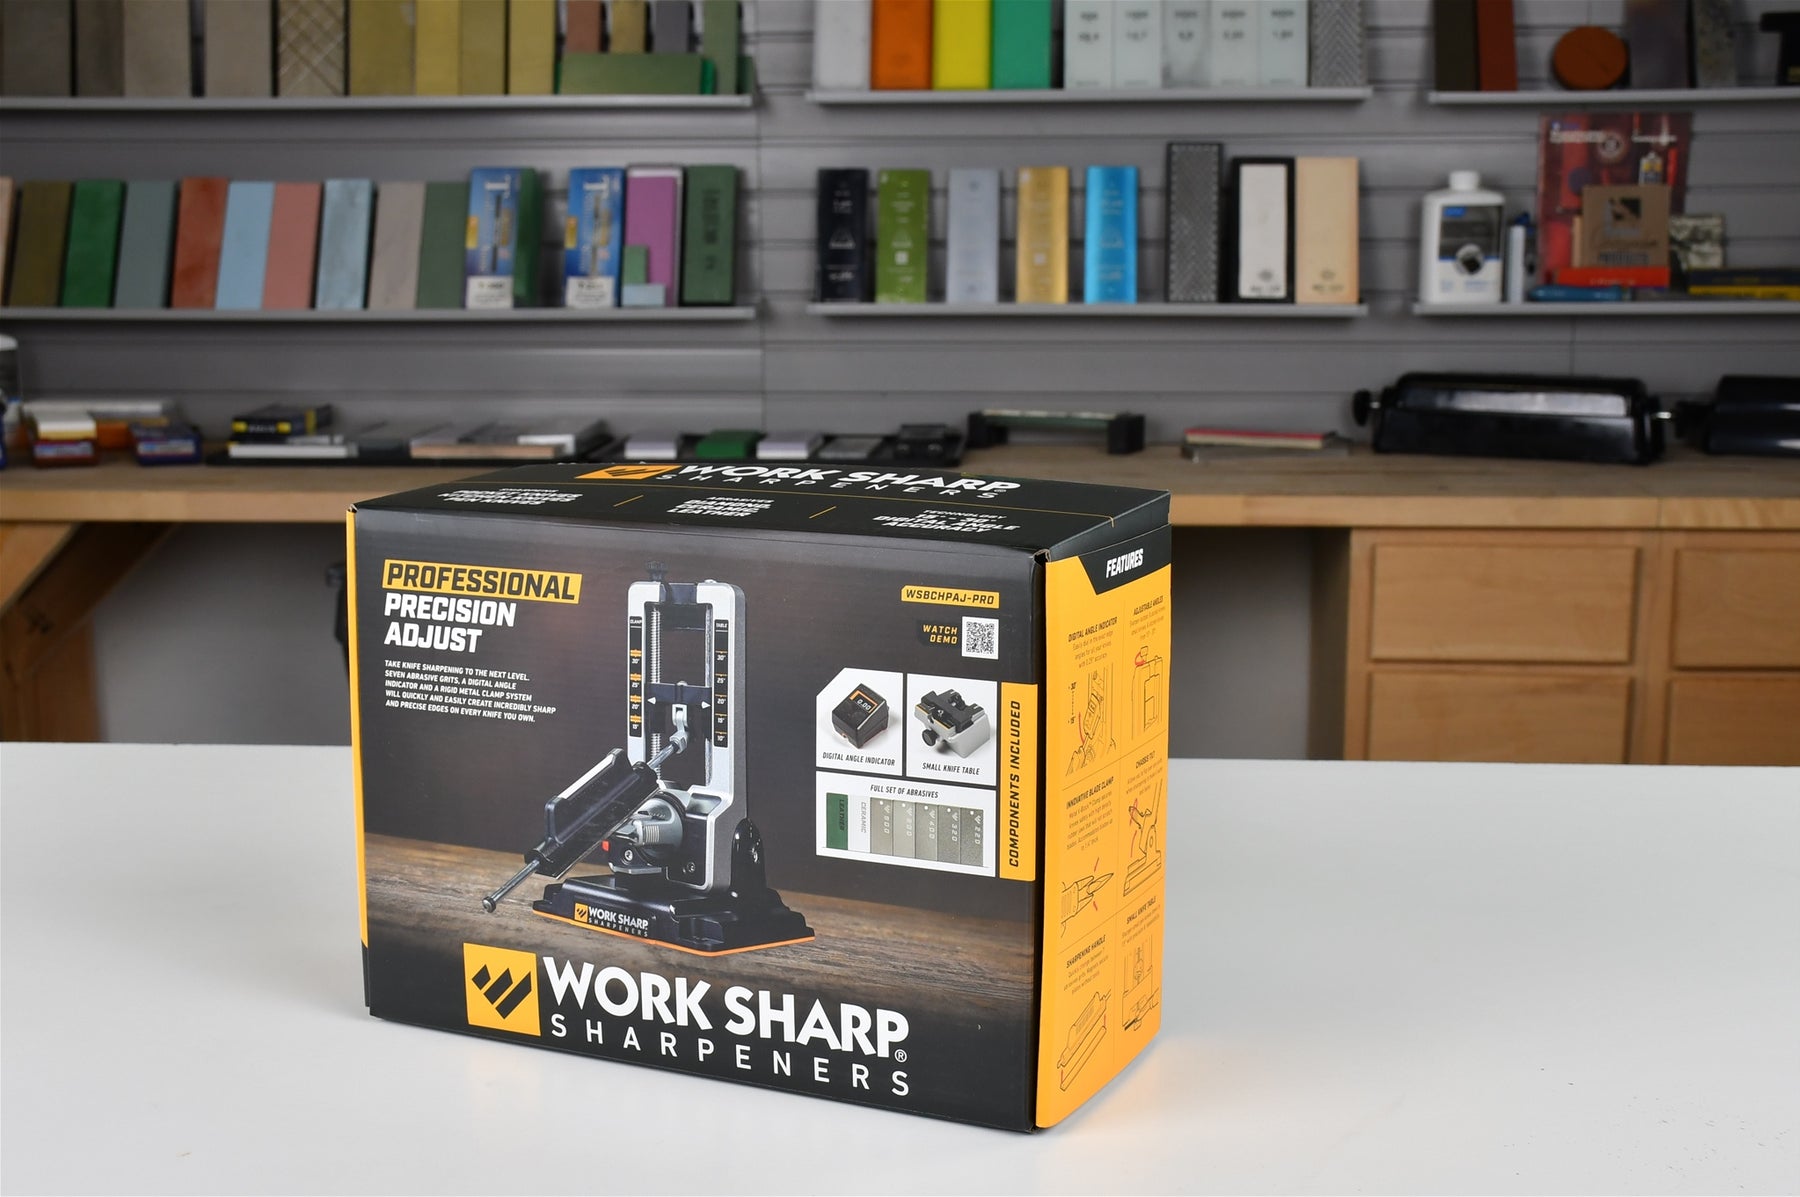
The Work Sharp Professional Precision Adjust box.
Highlights:

The Work Sharp Professional Precision Adjust with all the components.

Sharpening Chassis
The Sharpening Chassis contains all of the angle adjustments. The knob on the top rotates to turn the threaded rod. The chassis is well-made and sturdy. The threaded rod holds the Angle Adjustment Carriage in place so the Guide Rod is held at the exact angle.

Sharpening Base
The Sharpening Base holds the Sharpening Chassis. It is 6 1/2" inches wide and is weighted for a solid feel.

V-Block Clamp
The V-Block Clamp holds your knife securely in place. The metal jaws are covered in rubber where it contacts your knife. The jaws are spring-loaded so the knife can be held in place while you tighten the wheel to secure your knife.

Guide Rod
The Guide Rod holds the stones and screws into the Angle Adjustment Carriage. It is magnetic so replacing the abrasives takes only a few seconds.

7 Abrasive Stones
-The Professional Precision Adjust includes five 1” x 6” diamond stones: 220, 320, 400, 600, and 800 grits.
-A fine ceramic stone is included. While the grit isn’t stated, it is likely in the 1000 to 2000 range as it is clearly finer than the 800-grit diamond stone.
-The leather strop comes with honing compound already applied.

Digital Angle Indicator
The Digital Angle Indicator attaches to the guide rod. It allows you to fine-tune your angle after you’ve dialed it manually. It registers in .25-degree increments.

Small Knife Table
The Small Knife table is used to sharpen knives that are too small for the knife clamp.

Clamp Support
The Clamp Support is used for larger and heavier knives. It supports the clamp from below to maintain the exact angle.

The Work Sharp Professional Precision Adjust with all the components.
While the Professional Precision Adjust is very intuitive, the 16-page instructions are worth the quick read. For the purpose of my review, I took one for the team and read the instructions from cover to cover. Like all Work Sharp instructions, illustrations account for much of the information. The few minutes of reading were worth the effort as it will allow you to learn all of the features more quickly.
At a price of $250, the Professional Precision Adjust slots in between smaller guided systems (often $50 to $120) and the higher-end systems that range from $500 to 1,500. However, if you look at the overall size of the system, the size and number of the stones, and the additional features, it equals or exceeds the features of many of the higher-priced systems.

The Work Sharp Professional Precision Adjust size comparison with the Precision Adjust.
When discussing price, it is hard not to compare it to the Work Sharp Precision Adjust Elite or even the original Precision Adjust. The Elite version has a similar variety of grits so it is the best comparison. However, the physical size and size of the abrasives puts the Professional Precision Adjust in a separate category of guided sharpener.
Keeping a consistent angle is critical for sharpening, and that is the main selling point of any guided system. With that in mind, I wanted to see how Work Sharp tackled this issue.
The Professional Precision Adjust uses an Angle Adjust Knob to dial in your angle. You can select any angle between 15 and 30 degrees. The knob moves the Angle Adjustment Carriage up and down on the threaded rod. When you select your angle, it is held in place firmly without any slop that would affect your angle.

Turn the knob to adjust the angle.

Angles are clearly marked on the side of the chassis.
My mathematical side has always been a little uneasy seeing guided sharpeners with slots claiming to sharpen to a specific angle (so much so that years ago we did an article on the subject). The heart of the matter is that blade width affects the angle. Without getting into ancient Greek mathematicians, a wider blade lowers the effective sharpening angle. Work Sharp has solved this problem by including a Digital Angle Indicator that attaches to the Sharpening Rod. No more math or estimating, simply turn the Angle Adjust Knob and use the Digital Angle Indicator readings to fine-tune the angle. Pythagoras would be so proud.

The Digital Angle Guide will tell you the exact angle.
The Professional Precision Adjust comes with 7 total grits plus a ceramic serrated knife sharpening rod. This is more than enough grits for any knife sharpening situation. Having a full complement of grits is helpful if you want to be methodical and ensure that you’re progressing properly through the grits. Before I began, I thought so many grits seemed excessive. However, with the grits so easily changed, the variety of grits is a nice benefit. Each of the abrasives measures 1” x 6” long and is backed in steel so it can be magnetically attached to the guide rod.

All 7 of the 1" x 6" abrasives included with Professional Precision Adjust.
The grits are as follows:

The Clamp Support helps keep larger knives steady.
The Clamp Support supports the Knife Clamp when sharpening larger knives. In theory, the knife clamp could deflect under the weight of a larger knife and more sharpening pressure. The Chassis and Knife Clamp on the Professional Precision Adjust is quite strong, so I wasn’t able to see much deflection (the Angle Indicator confirmed this). Another thing to keep in mind, it is only the deflection between the chassis and the clamp that affects the true angle, and the connection between the two are tight-fitting steel pieces, so if you see any deflection, it isn’t affecting the angle. The good news is that if you deem it necessary, Work Sharp has the Clamp Support included.

The tilt feature is very helpful.
The Chassis Tilt is a nice feature that you’ll appreciate if you sharpen anything larger than pocket knives or EDC knives. A larger knife can’t be turned in the knife clamp without hitting your work surface. By tilting the chassis, you can turn any size knife in the clamp without having to remove it from the chassis. It makes it quicker and safer to use. The actual handle for this feature is hidden, to actuate it, just pull on the lever behind the chassis. Additionally, the tilt feature lets you turn your knife with the Clamp Support in place.

A great place to set the Guide Rod.
One of the most subtle but helpful design elements of the sharpener is the slot to hold the guide rod. When you’re flipping over your knife or just inspecting your edge, you don’t want to just hold the guide rod. Those that bothered to read the instructions are able to see use the slot at the top of the chassis to store your guide rod. In fact, that is how I store my Professional Precision Adjust.

The small knife table can even accommodate the smallest blade in our shop.
If there has ever been an Achilles heel of guided sharpeners it would have to be sharpening very small knives. The crux is simply that the clamp gets in the way of the stones, especially at lower angles. Work Sharp has solved this problem with a Small Knife Table. Instead of clamping the knife, your knife rests on the table and the edge hangs off the edge. You do need to hold your knife in place with your hand, but magnets and an adjustable Blade Support Bar help you with the task.

I tested it on my treasured engraved Benchmade Bugout.
I selected my Work Sharp Edition Benchmade Bugout with the Sharpening Supplies name etched on the blade. This was an easy choice when testing the Professional Precision Adjust for the first time. I selected this knife because it features a black coating on the blade, these coatings can get scratched by metal knife clamps so I wanted to confirm that the Knife Clamp didn’t affect the finish on my knife. After evaluating the clamp, I felt confident my knife would come though the sharpening and clamping without harm.

The clamp holds my knife securely.
I first pinched the jaws of the spring-loaded clamp. When I released the jaws, they held the blade while I tightened down the jaws with the thumb wheel. Next, I inserted the knife clamp into the chassis. There is a little red tab on the left that releases the clamp but also makes it much easier to insert the clamp. I now have my knife in place.
I then selected my angle. In this case, I wanted to closely match the factory angle. I calculated the angle to 20 degrees (your knife may be different and I tested mine at 20 degrees). I turned the knob to 20 degrees. I then zeroed the Digital Angle Indicator on my bench and then installed it on the guide rod. At this point I have the ceramic stone in the guide rod, I like to use a very fine grit during setup. It was only off by .25 degrees, so with not even a full turn on the knob I set it to exactly 20 degrees. At this point I even decided to use the Angle Indicator to see how much my angles would change when I moved the stone to the heel and tip of the knife. It only changed about .25 degrees on the heel or tip of the knife, and I was happy with that.
To start my sharpening, I installed the 220 grit diamond stone. I prefer to start with a coarsest grit if my knife really needs some sharpening. Using coarser grits is not only faster, but it saves my finer grits from unnecessary wear. I started on one side of my knife and then when I could feel a burr on my entire edge, I flipped the knife over and sharpened for roughly the same amount of time on the other side. When I confirmed I could feel a burr on the other side, I detached my 220 grit.

I started with the diamond stones.
For the sake of proper testing, I progressed through each of the diamond grits and sharpened both sides equally. Since I already had a burr, each of the subsequent grits were used to refine the edge. I proceeded through all of the other 4 diamond stones, the 320, 400, 600, and 800. While the knife was clearly already sharp, I much prefer a finer edge so I installed the ceramic. I then worked both sides of my knife to really start polishing the edge. On my finer grits, I like to alternate sides back and forth. I feel it creates a small burr and more gently polishes the burr off. Once I was done with the ceramic, it was now very sharp and polished. Certainly, much sharpener than the knife was from the factory.
The last step is the leather strop. I really love a stropped edge. The only difference in using the strop is to only move the strop with the edge trailing. If you push the edge into a strop, you will cut the leather. I learned that lesson many years ago, so I didn’t need to learn it again today. I stropped a total of roughly 20 passes on each side. On my last 5 passes, I alternated sides of the knife. The knife clamp is very easy to turn, so the process is quick.

I always like to finish on the strop.
At this point I removed my knife from the clamp. I confirmed that the jaws left no marks on my coated blade. I then looked at my edge with the help of a 10X loupe. A nice uniform shiny edge from heel to tip. While the edge looked great. I still wanted to see if my efforts produced the results I was after. For my first test, I brought it to our trusty Edge-On-Up Tester in our shop. I then tested it at 127 grams. A very good result. When I test, I’m testing for accuracy, not bragging rights, so I carefully lowered my blade for the most accurate reading. I then tested it by slicing paper and shaving my arm hair. Again, I confirmed that the knife was indeed sharper than the factory edge.

My fully sharpened knife is sharper than factory sharp!
If you’re in the market for a manual guided system, the Professional Precision Adjust is an excellent value high-end sharpener. Work Sharp obviously did their homework when designing the Professional Precision Adjust as it addressed all of my concerns with guided sharpeners and I’m able to recommend it without reservation.