What I'm Sharpening Today - Boggs Spokeshave

Sharpening a Spokeshave
Spokeshaves can be wonderful tools. For those that don’t know, a spokeshave is basically a very short hand plane that allows you to make nice wood shavings on curved or irregular surfaces. Like all tools, there isn’t just one kind of spokeshave, but for this article, I’m sharpening my Boggs Spokeshave by Lie-Nielsen.

I started my sharpening by evaluating my edge. Based on my experiences with tool edges, I thought the edge was generally acceptable, but not truly sharp. If you really want to enjoy woodworking, a truly sharp edge really helps. Since I work at Sharpening Supplies, I wanted some actual data to evaluate the sharpness. I used the Edge-On-Up Edge Tester to determine that my edge was rated at 221. That is sharp by most standards, but for my standards, not sharp enough.
Testing Sharpness

We use the Edge-On-Up to test sharpness. It measures the force required to cut a certified piece of test media. The lower the number, the sharper the edge. A butter knife is roughly 2000, a new knife is often around 300, while a razor blade can be sharpened below 100. We use this in our shop to measure our results.
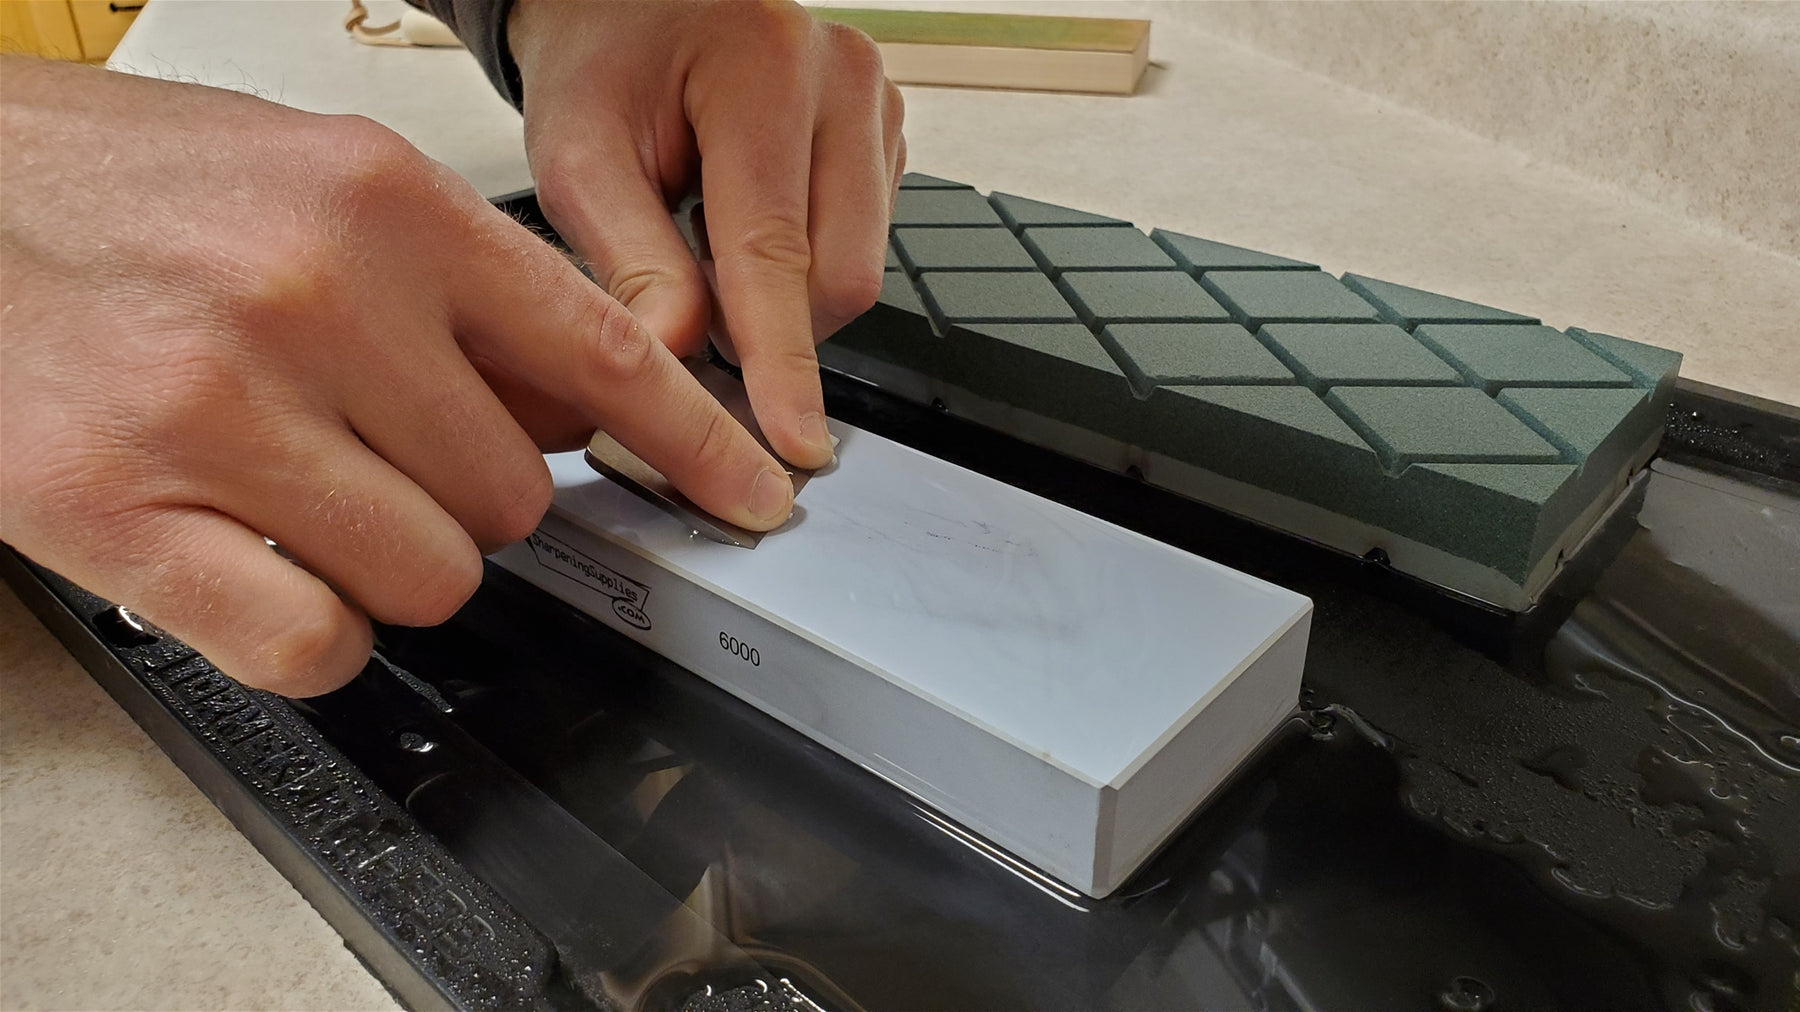
Since I’m working at home these days, I had my wife take a few shots of me while I was sharpening. No studio, no special lighting, just me and my home workshop. We didn't photo-document every step since my wife was also playing teacher and principal at the time.
A spokeshave blade like this one, is often sharpened by hand without the use of a guide. The guides that work for chisels and plane irons usually do not fit spokeshave blades. Fortunately, this blade is nice and thick so laying the bevel on the stone isn’t too difficult.
I started with my 6000 grit Sharpening Supplies Water Stone to see if I could get by with just a quick honing. Many times that is all that is needed when a tool is already fairly sharp. However, once I started getting a polish, I could see that I wasn’t quite polishing to the edge so I needed to start from scratch.

I sharpened the bevel with the 220 grit Sharpening Supplies Water Stone. I could really feel the grit working. In a few minutes, I could feel a burr forming across the back of the edge.
Next, I started using the 1000 grit of the same Sharpening Supplies Water Stone. This time I started on the back of the blade. After I had it flattened sufficiently, I moved to the bevel side and sharpened it with the 1000 grit until I could see that I had removed all the marks that the 220 grit had left.
Now back to the 6000, I polished the back and honed the bevel until I was satisfied I had removed all the marks from the 1000 grit. I could probably have just stopped there. But I wanted to go one more step.

Next I stropped the edge with my Double Sided Paddle Strop. I didn’t get any photographs of this process, but it is basically the same as the stones. The only difference is that you always pull the edge across the strop, never into the strop. I did a few passes on the back and the bevel side until I had a nice sharp edge.
I should add that I did flatten my stones with our Double-Time Flattening Stone before and during my sharpening. Woodworking tools require flat stones to get a good sharp edge. You can’t lay the back of a spokeshave blade on a stone that isn’t flat and expect it to work. If you flatten regularly, it only takes a few seconds. If you wait too long, it can take a long time to flatten a stone. Worse yet, if you don’t flatten your stones and only realize it after you’ve spent a long time flattening the back of a tool, you get to go through whole the sharpening process again. Don’t ask me how I know.
All right, time for the results. It felt sharp, but just as in the beginning, I needed to see some actual data. Using the same Edge-On-Up Edge Tester I found that my edge now required just 100 grams of pressure to cut the Test Media. I was happy with the results. It was sharp enough for my purposes. I could have spent a little more time in the process and maybe got it a little sharper for bragging purposes. However, this tool was meant to be used and I wanted to cut some actual wood.

I decided to enlist my daughter for the last part. She helped me shoot a quick video of the sharpened spokeshave in action. I was able to easily cut a nice long shaving with it. If your spokeshave can’t do that, your blade is dull or you just haven’t set up your spokeshave properly.

I’m now going back to the workshop to actually use my spokeshave. I'm finishing up a spoon handle and this sharp spokeshave will do well.
