How Do I Sharpen to Match An Existing Angle?

How to Match an Existing Angle on an Edge Using a Marker
I would like to sharpen my edge to the same angle. What technique can I use to match the existing angle of my edge?
The most common way to help you sharpen to the existing angle on an edge is to use a marker or Sharpie to help you identify your sharpening angle. This is sometimes called The Marker Trick or The Sharpie Trick. This process is simple, once you understand how to do it. It works on any tool or knife, doesn't require measuring the angle, and can be used with any sharpening method.
Use a Marker to Color in the Bevel
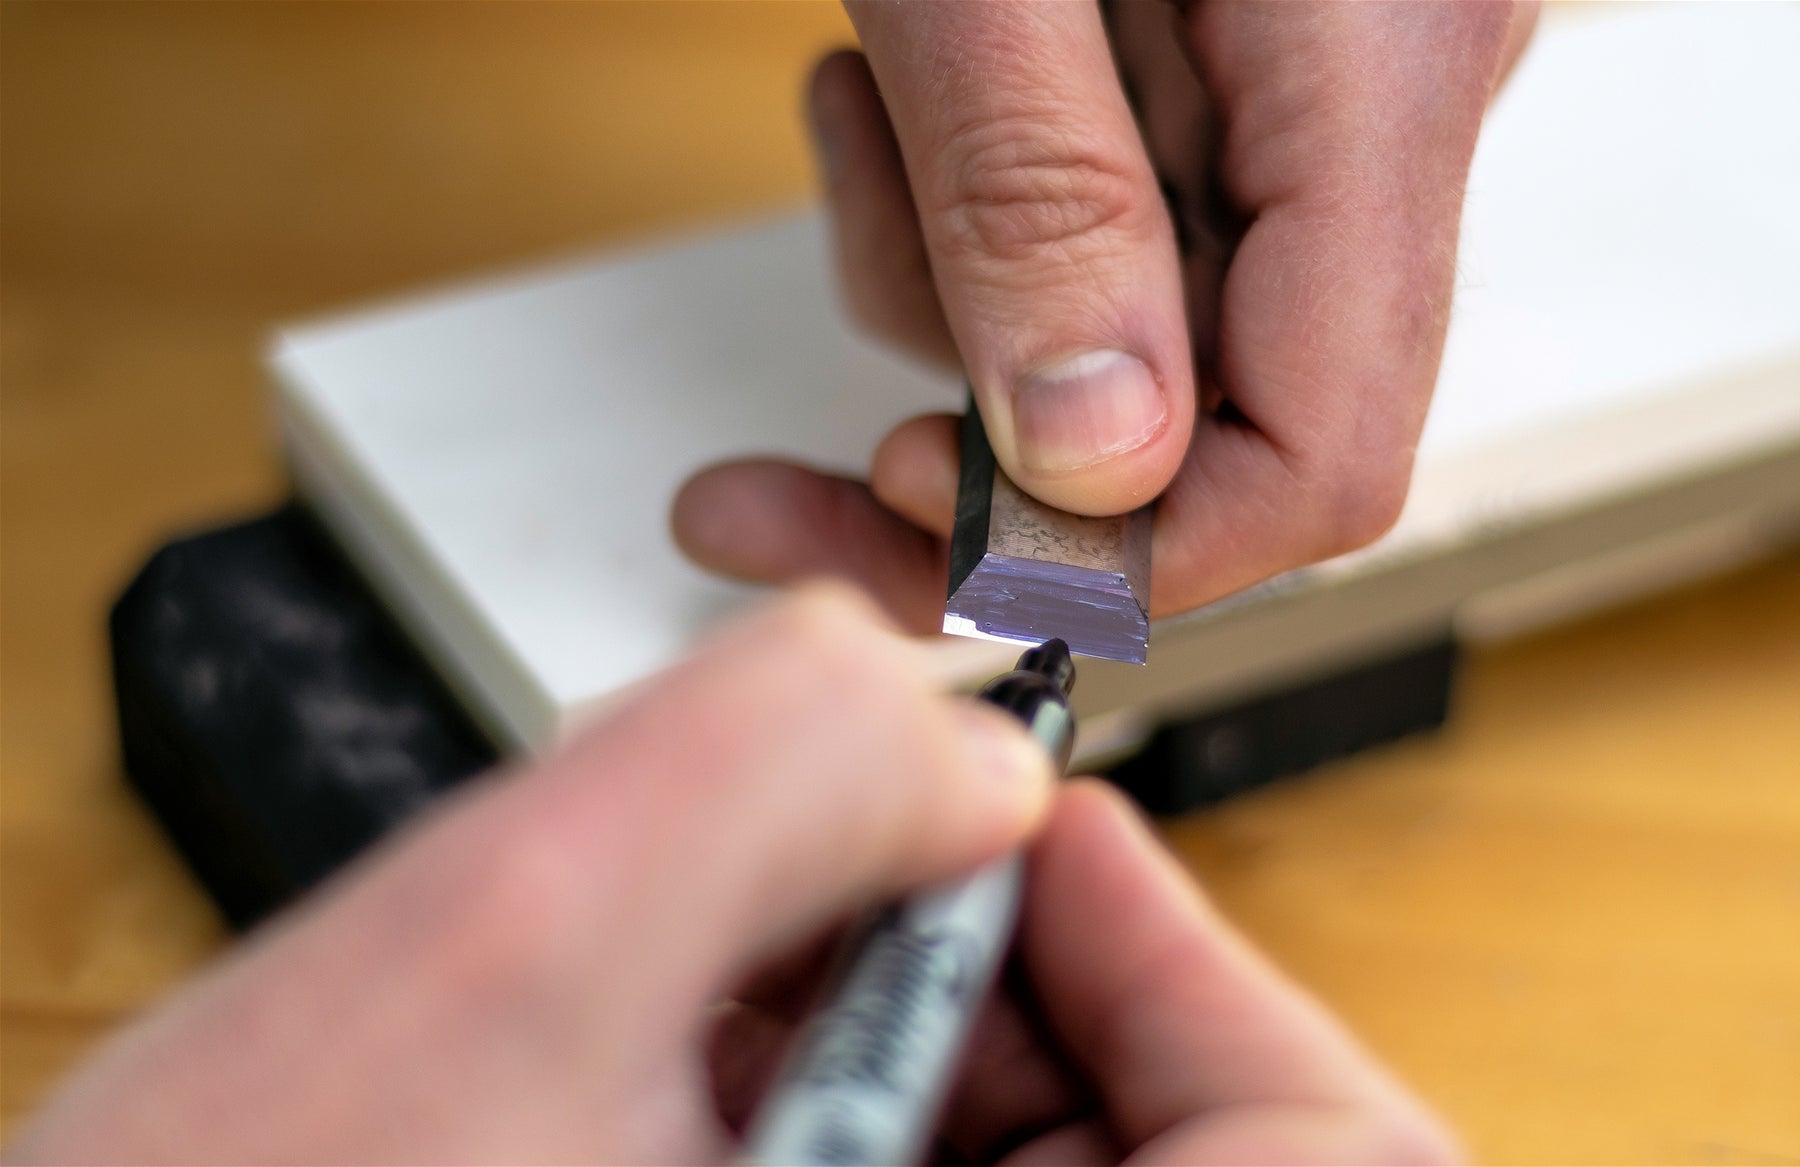
Start by coloring in the bevel with a marker. Make sure you get all the way from the heel of the bevel to the edge. It's not always necessary to darken the entire length of your knife or tool, but cover a large enough area so you can see it easily.
I'll use a chisel to demonstrate. The bevel is nice and large so it will be easy to see the results. This method works on any bevel on any tool or knife.

Color in the bevel on the edge you're sharpening. This chisel has a large bevel. In the photo above, I have covered the entire bevel.
Make a Test Pass to Remove the Marker
Put the tool or knife on the sharpening surface and get as close as you can to the existing angle by eye. If you are working by hand on a stone, lightly take a stroke. If you are working with a powered sharpener, move the abrasive belt or wheel without turning the machine on. You're not sharpening yet, just getting some test marks.

In this photo, I'm making one careful pass with my chisel. This is how I will create my test marks.
Inspect the Bevel
Now take your knife or tool off the abrasive and have a look at the marked in bevel. By seeing where the marker has been removed, it is straightforward to determine if your angle is too high, too low, or just right.

The marker is worn away at the edge. That indicates that the sharpening angle is too high.

The marker is worn away well behind the edge. This indicates that the sharpening angle is too low.
If you're not spot-on already, remark the bevel, adjust the angle and try again until you have it just right. Once you have found the sweet spot, you are ready to sharpen.

In this photo, the marker has been removed across a large potion of the bevel, indicating that the sharpening angle has been matched to the previous angle.
Ready To Sharpen
The marker trick for determining your sharpening angle is an easy and efficient technique when you want to match the existing angle. If your knife or tool was cutting properly and just needs a resharpening, using the existing angle is often a better choice than trying to resharpen it to a different angle. Once you've found the correct angle, you then continue sharpening your edge.
We've shared this technique with many of our customers over the years. We hope that by sharing sharpening information and techniques we can improve your sharpening knowledge and results.

